Home / Restoring Old Iron Gates
Restoring Old Iron Gates
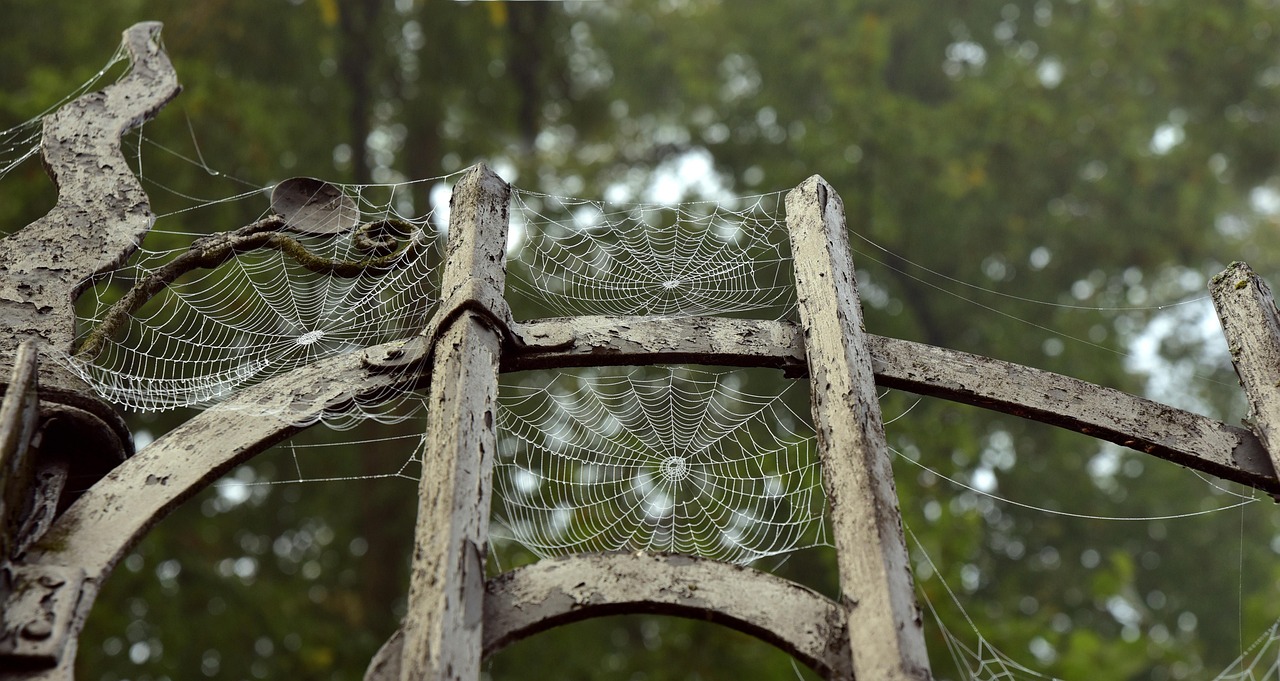
Restoring an old iron gate means taking it down to sound metal, repairing what has failed, rebuilding the coating from the bare steel up, and rehanging it on posts and hinges that can carry it. Done properly, a restored gate can outlast a new one, and it keeps the detail and character that replacements often lack.
Is it worth restoring
Start with an honest look. A gate is worth restoring when the main members are thick and sound, the pattern suits the house, and the damage is limited to rust, worn hardware and a tired finish. Gates from earlier decades were often made from heavier stock than many modern ones, and that mass is a real asset. A gate with hand forged scrolls or riveted joints is also hard to duplicate, which adds to its value.
Restoration is a poor choice when the structure is rotted through, when the frame has been bent repeatedly, or when the design no longer fits the property. A reputable fabricator will tell you honestly which camp a gate falls into after a short inspection.
Take stock before touching anything
Photograph the gate from every angle before removing it, and note how it hangs, how the latch works and where the hinges sit. Measure the leaf, the opening and the post spacing. Old gates sometimes have hidden quirks, such as a hinge pin that was never straight or a frame that was built to fit an out of square opening. Knowing these details avoids surprises during reinstallation.
Check the paint, too. Gates painted before the late 1970s may carry lead based coatings, and sanding or blasting them creates dust that is hazardous. Test kits are inexpensive, and a shop that works on old iron should know how to contain and dispose of what it removes.
Removing the old finish
The finish has to come off completely, or at least back to a stable base, before a new system can last. Methods include hand scraping and wire brushing for light work, mechanical wire wheels for larger areas, abrasive blasting for heavy rust and many layers of paint, and chemical strippers for intricate scrollwork where blasting would be too aggressive. Each has trade offs in speed, cost and risk to the metal. Blasting is fast but can remove detail from thin or soft material if done carelessly.
Whatever method is used, the goal is clean metal with a slight profile that lets primer grip. Rust left under new paint keeps working and pushes the coating off from below, usually within a couple of seasons.
Repairing the metal
Once the gate is bare, flaws show up that were hidden. Cracked welds, bent bars, thinned sections and worn hinge lugs can all be found now. Cracked welds should be ground out and rewelded with the correct filler, and bent bars straightened with heat and pressure, or cut and replaced if the metal has been weakened. Where rust has eaten the bottom of a bar, a new section can be spliced in and ground flush, so the repair disappears under paint.
Old iron can behave differently from modern mild steel. True wrought iron contains slag fibers and welds in a particular way, and a welder who knows the material gets better results. When in doubt, test a small area on an inconspicuous piece before committing to a repair method.
Priming and painting
Bare steel starts to rust within hours, so primer should go on the same day the metal is cleaned. A zinc rich primer gives the best defense, because the zinc protects the steel even where the paint is scratched. Allow it to cure fully, then apply an intermediate coat if the system calls for one and finish with an exterior topcoat suited to hot, bright sun.
Pay special attention to the places water collects: bottom rails, joints, the undersides of scrolls and the back of hinge straps. Brush primer into crevices where spray cannot reach, and seal any gaps between overlapping parts with a flexible sealant so moisture cannot creep in. Two thin coats are better than one heavy one.
Hinges, latches and hardware
Restoration is the moment to replace worn hardware. Hinge pins and bushings that have worn loose make a gate sag, and a loose latch frustrates every visitor. New hinges can be chosen to match the original style, and a blacksmith can sometimes reproduce an original latch from the pattern of the old one. Reuse original hardware where it is sound, since it contributes to the gate's authenticity.
Replace fasteners with galvanized or stainless ones to avoid rust streaks on masonry, and add grease fittings or oil ports so movement stays smooth.
Checking the posts before rehanging
A restored gate hung on failing posts is a wasted effort. Check each post for plumb and for movement at the base. If the footing has cracked or the post has leaned, reset it before the gate goes back up. Masonry piers need their mortar checked and repointed where it has failed, using a mortar suited to the age of the structure, since a mix that is too hard can damage old stone and brick.
Readers who want to see how the planning side of a gate works can start from georgetown metal gates works.
Caring for a restored gate
A restored gate stays in shape with modest attention. Wash it every year, touch up any chip right away, and lubricate the hinges. Look at the bottom rail and the joints every spring for early signs of rust, and treat them before they spread. A gate that has been properly restored and then kept up can serve for another fifty years or more, a long return for what is, compared with replacement, a modest investment.
Working in stages and keeping a record
A restoration goes more smoothly when it is planned in stages: documentation, removal, stripping, repair, priming, painting, rehanging. Between stages, check the work before moving on, since a missed crack found after painting means stripping that section again. Keep every original fastener, hinge and fitting in labeled bags until the job is done, because small parts that look like scrap often turn out to be the only ones that fit.
Take photographs at each stage. Before and after pictures help a fabricator quote repairs honestly, help an owner see what changed, and give the next owner a record. Old gates that carry a maker's mark, a date or a foundry stamp deserve extra care, since those details add to the history of the property and should survive the work untouched.
Deciding on color
Black is the default for old iron, but it is not the only historic choice. Dark green, deep brown and a warm gray all appear on older gates, and a sample of the earliest paint layer, found under later coats, sometimes shows the original color. A satin or semi gloss finish suits most gates; a high gloss shows every flaw in the metal. Pick the color with the house trim and masonry in view, in full sun and in shade, since paint looks different in each.